
LightningコンポーネントでCM GanttChart for Salesforceを使用するには以下のような手順で行います。
この手順で作成したLigheningコンポーネントはSalesforce1のメニューに直接追加できる他、Ligheningアプリケーションビルダーで利用するようにすることも可能です。
Ligheningアプリケーションビルダーで作成したアプリケーションは現状「電話」及び「タブレット」に最適化された画面しか作成できず、Salesforce1をPCから参照した場合、PCで参照する場合には不要な空白が挿入されてしまいます。本手順で作成したLightningコンポーネントを直接Salesforce1のメニューに追加した場合はこの空白が挿入されないため、Salesforce1をPCから利用する場合には本手順が最適です。
お使いの環境でLightningコンポーネントが有効化されていない場合は、こちらのページを参照の上、Lightningコンポーネントを有効化してください。
目次
開発者コンソールの起動
[アカウント名] >[開発者コンソール]をクリックします。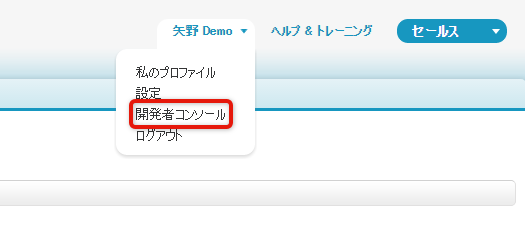
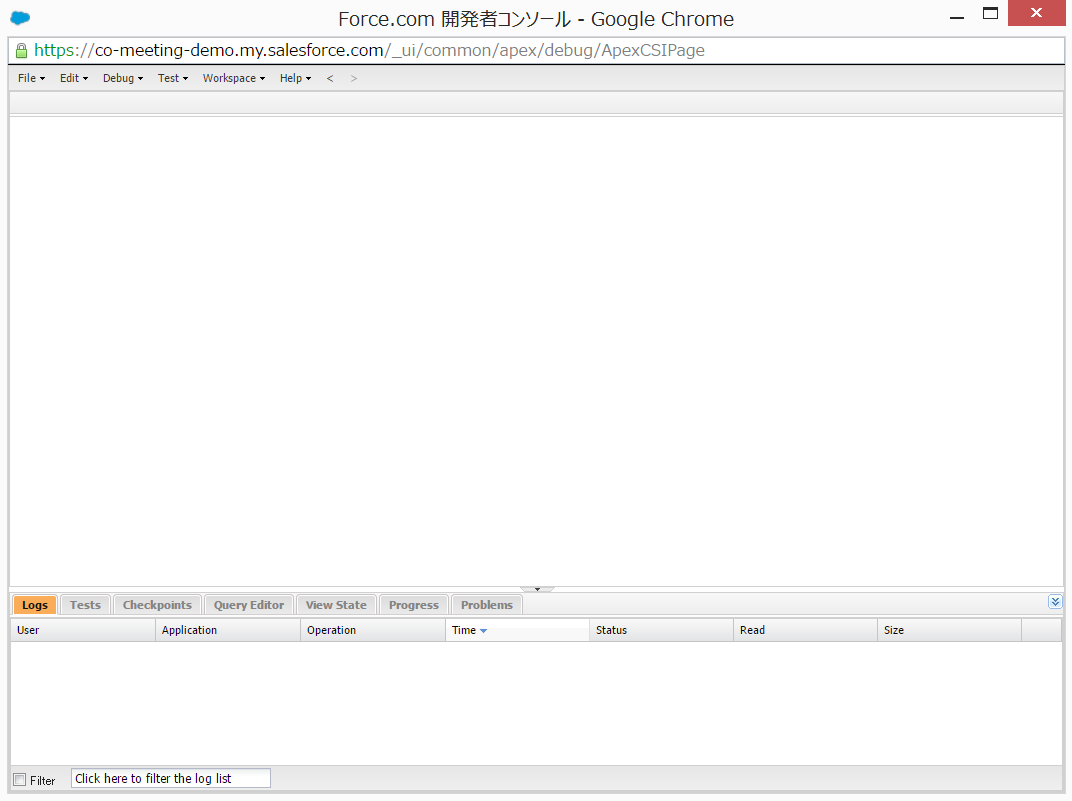
開発者コンソールが起動します。
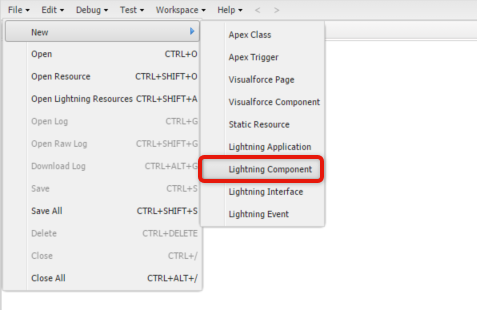
新規Ligheningコンポーネントを作成する
メニューから、[File] > [New] > [Lightnig Component]をクリックします
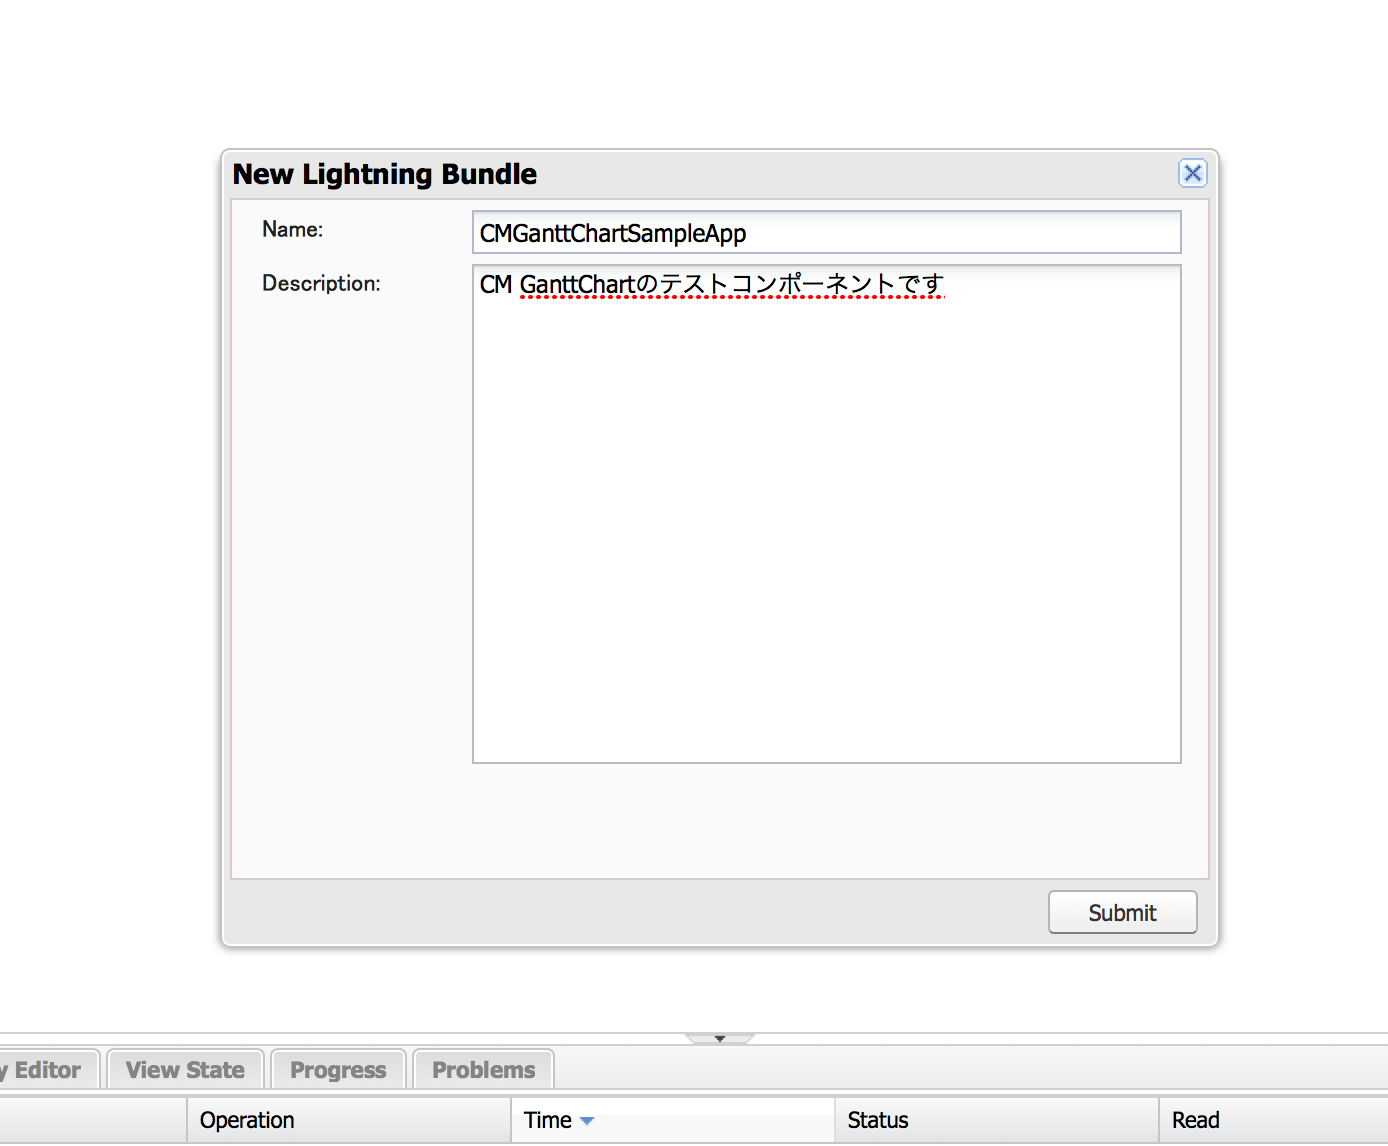
ダイアログが表示されますので、NameとDescriptionに適当な内容を入力し[Submit]ボタンをクリックしてください
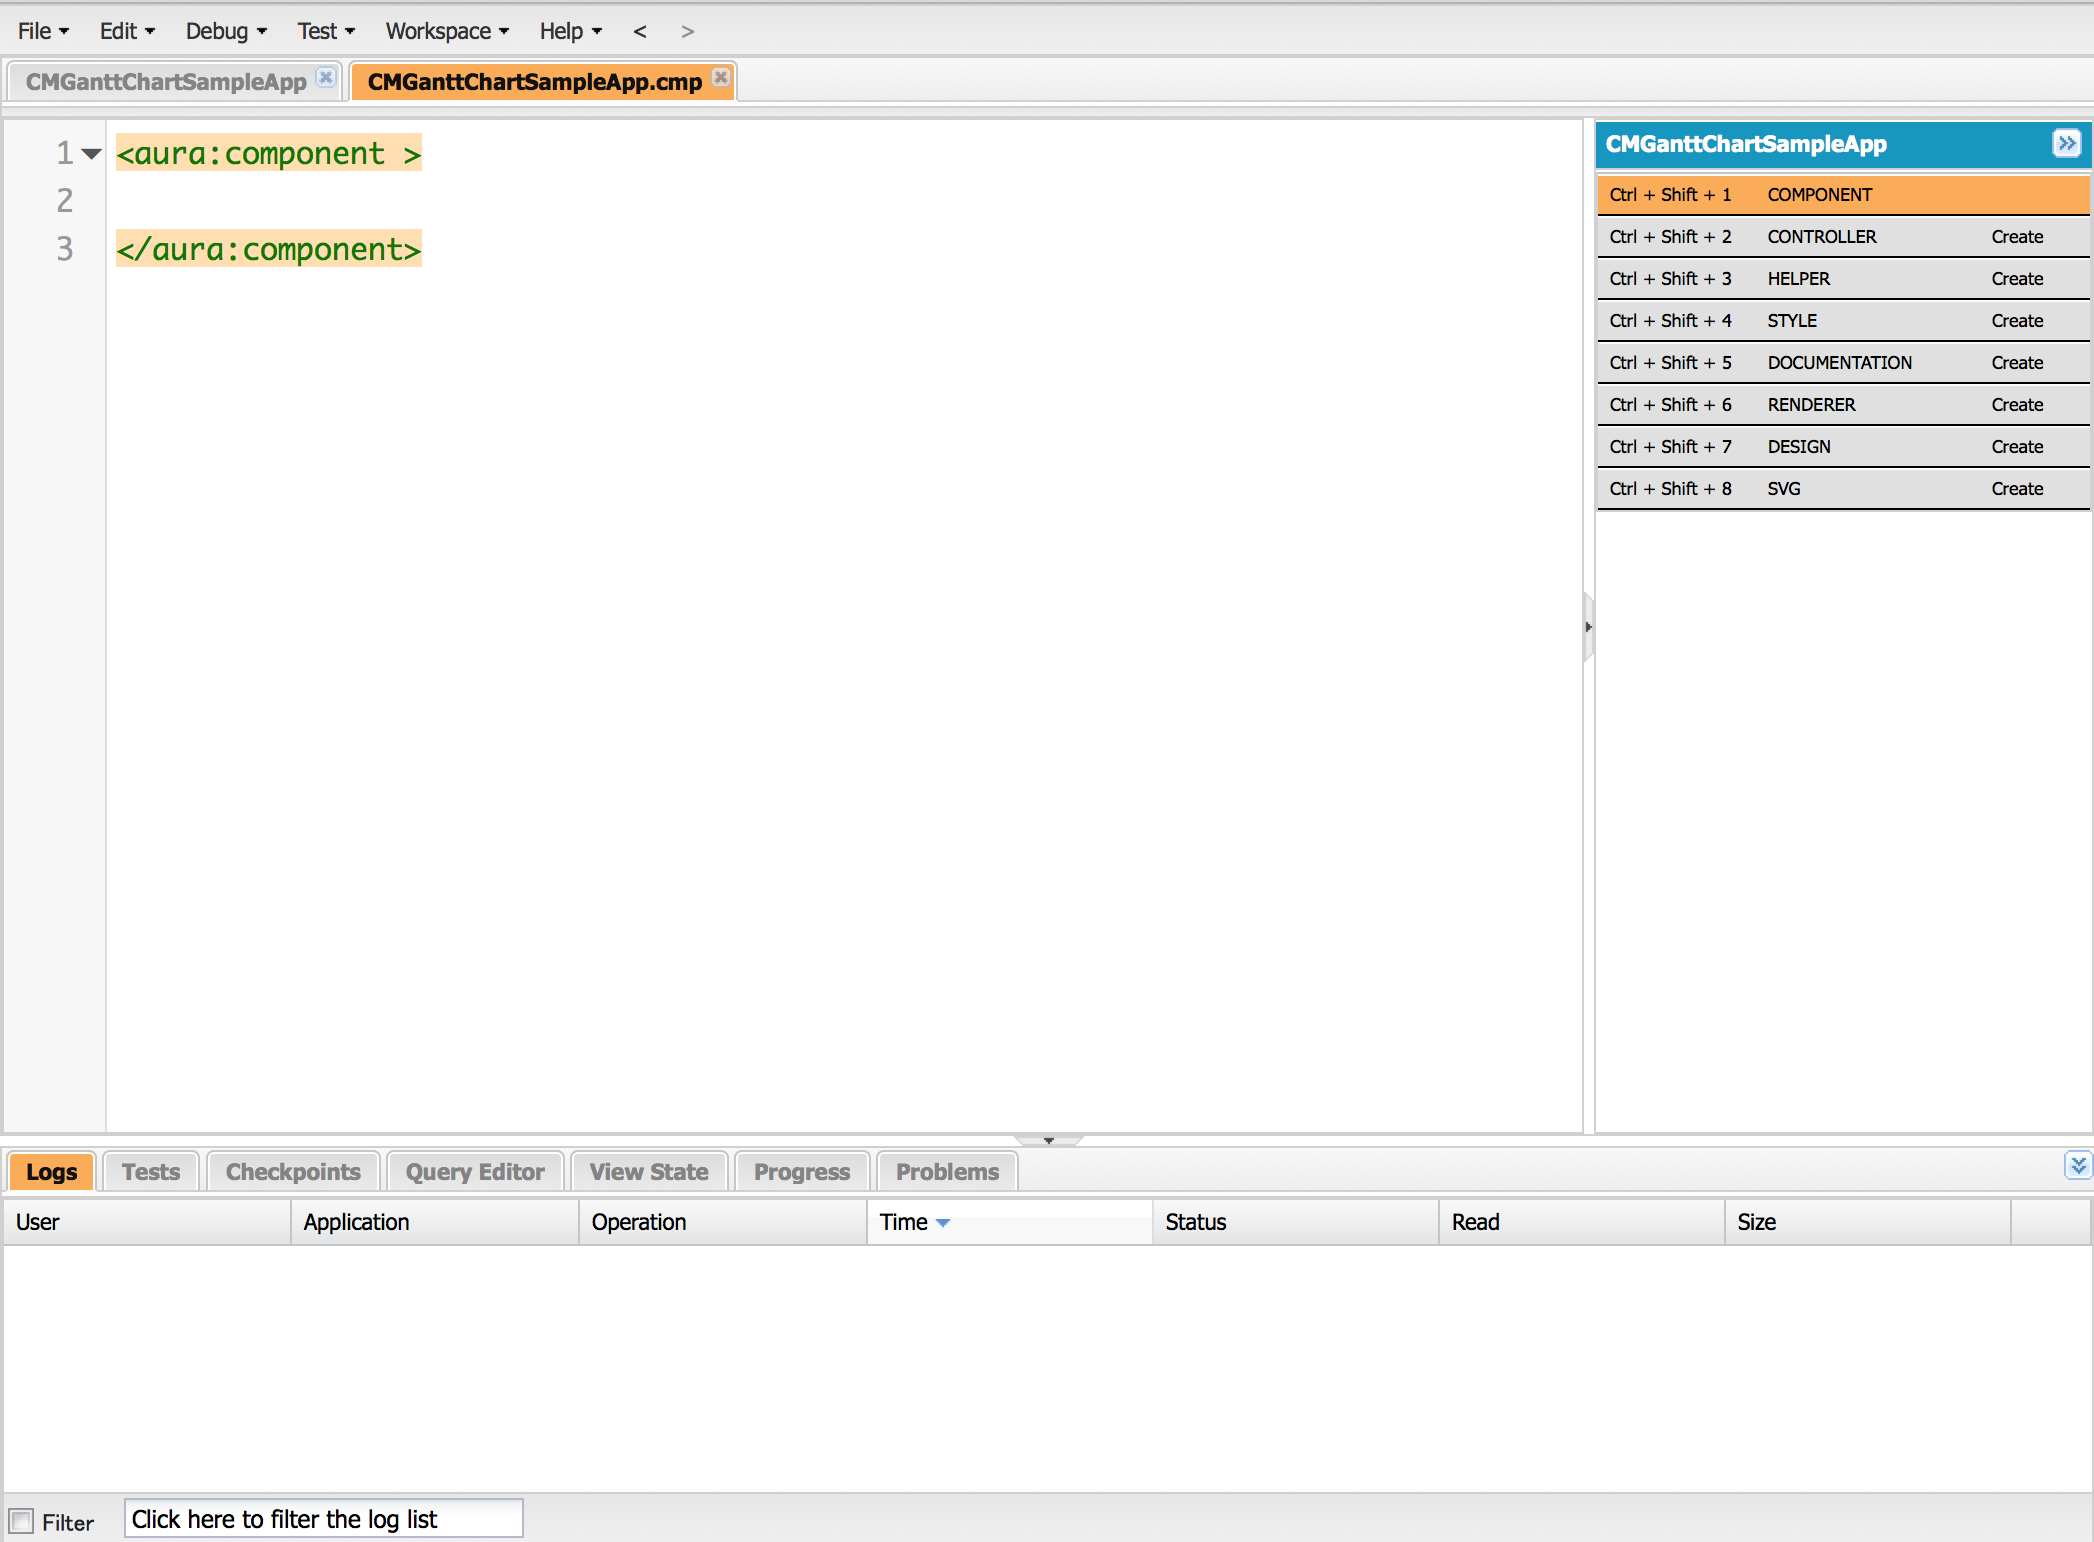
Ligheningコンポーネントが生成されます。
Ligheningアプリケーションタグの追加
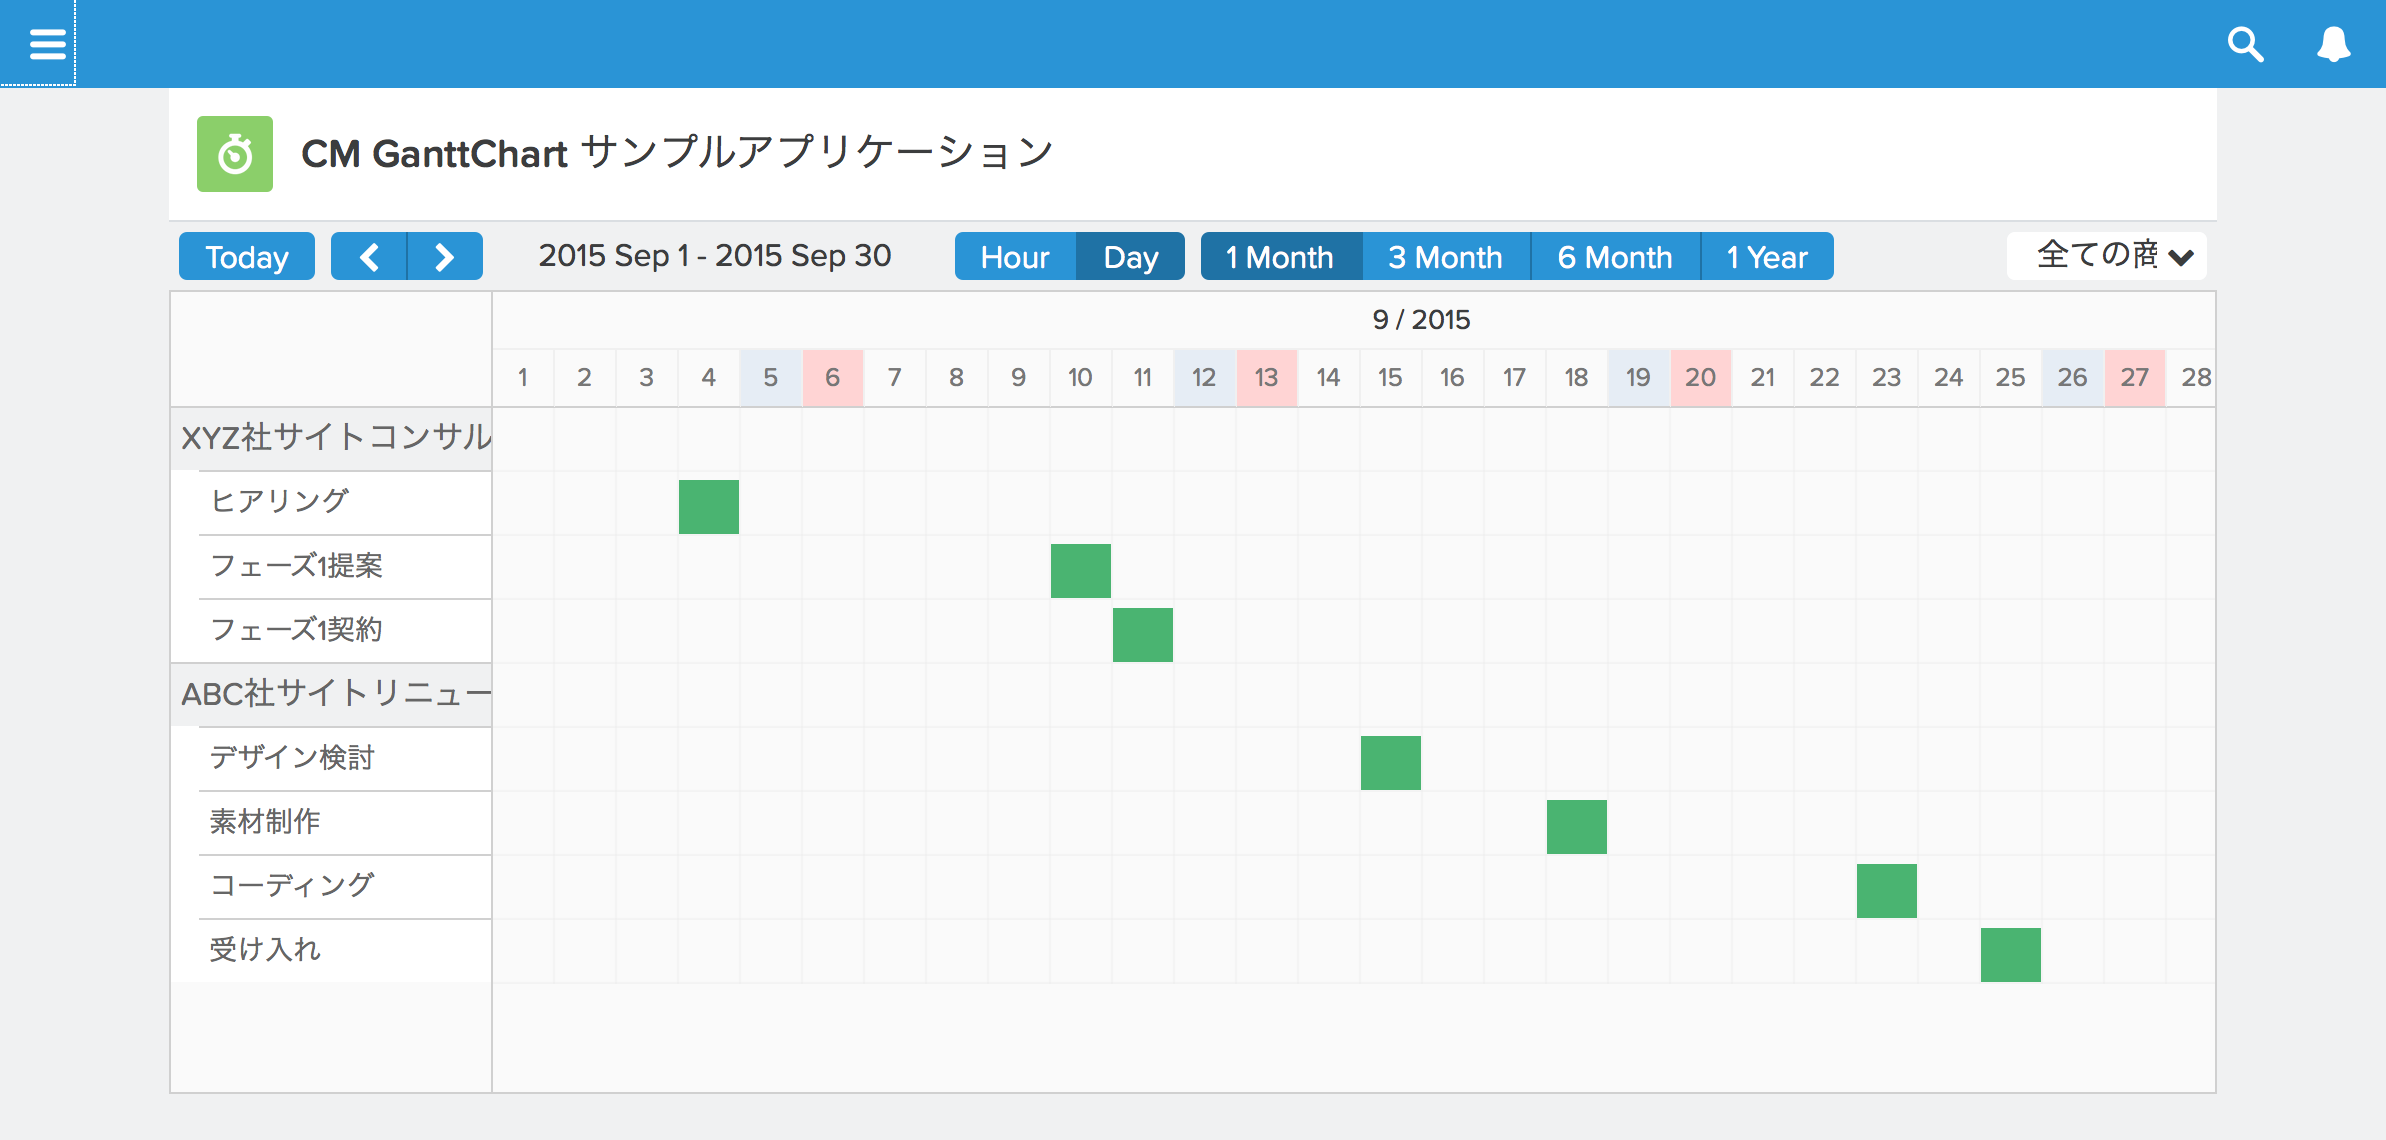
例として、以下のように商談ごとのタスクをガントチャートとして表示してみましょう。
<aura:component>タグ内に下記の属性を記入したタグを追加します。このとき、作成するコンポーネントをSalesforce1から直接使えるようにするためには<aura:component implements=”force:appHostable”>とする必要があります。
<aura:component implements="force:appHostable">
 <cmgantt:ganttChartApp objectName="Task"
 labelField="Subject"
 startField="ActivityDate"
 groupingField="WhatId"
 groupingLabelField="What.Name"
 query1label="全ての商談"
 query1="USING SCOPE Everything"
 query2label="私の商談"
 query2="USING SCOPE Mine"
 />
</aura:component>
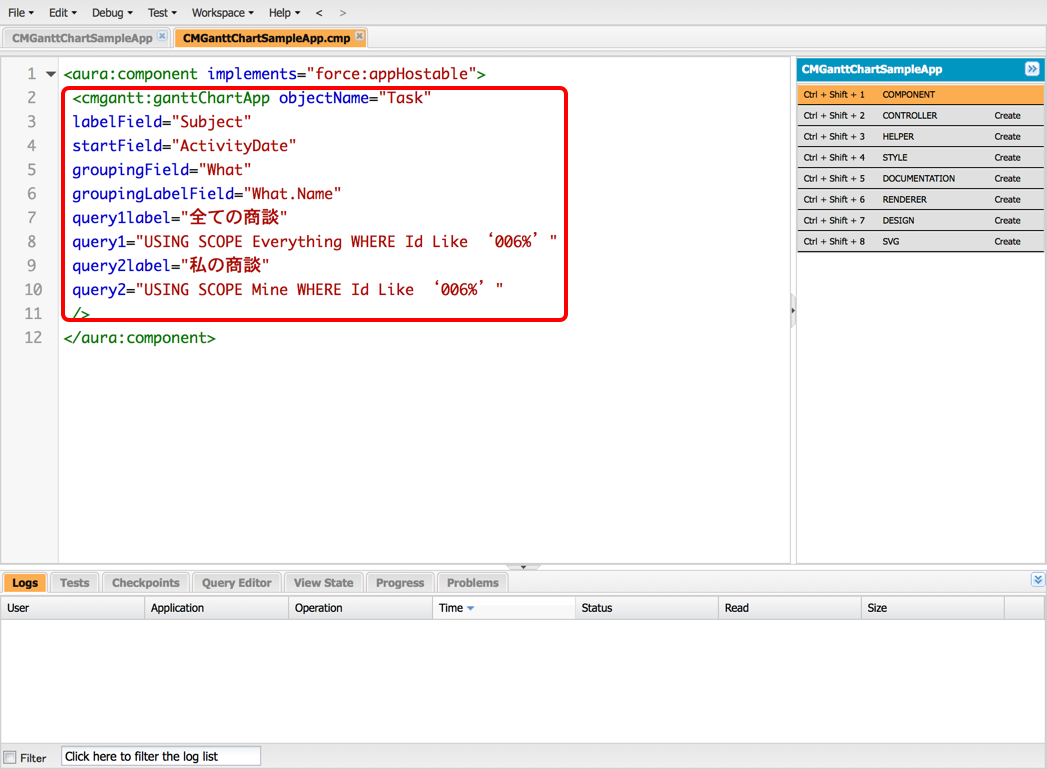
簡単に説明すると、[Object name]に指定したオブジェクトがガントチャートの各行に表されれ、[Start date or datetime field]にした日付フィールドの日付にプロットされます。
また、[Label of Grouping]に指定したフィールドでグループにまとめられます。
この例では、商談ごとのToDOの日付がガントチャート上に表されます。
コンポーネントの属性の詳しい説明は「CM GanttChart for Salesforceコンポーネントリファレンス」をご覧ください。
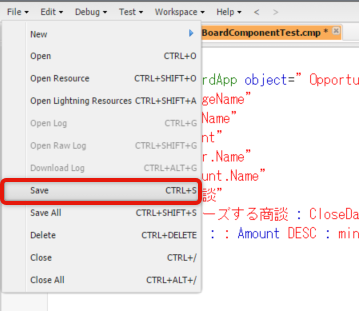
追加が完了したら[File] > [Save]をクリックして保存します。
Salesforce1のメニューに追加する
作成したコンポーネントをSalesforce1から使える設定を行います。
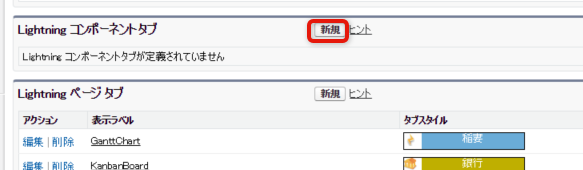
[設定] > [アプリケーションの設定] > [作成] > [タブ] をクリックしてください。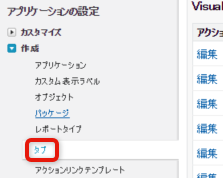 [Lighningコンポーネントタブ] > [新規]ボタンをクリックします。
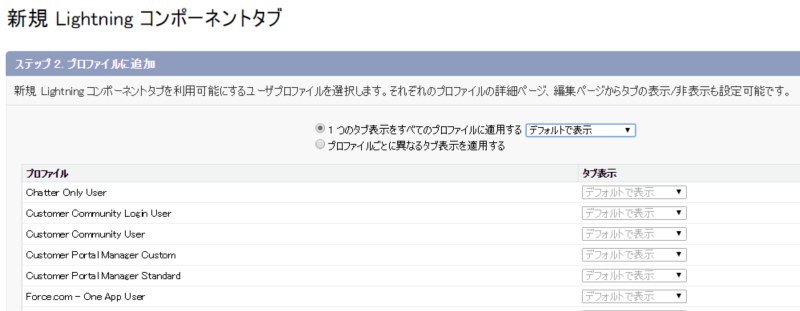
Lightningコンポーネントで作成したコンポーネントを選択し、その他必要事項を記入して[次へ]ボタンをクリックします。

参考までに、以下のように設定をしました。
タブの表示ラベル: 「CM GanttChartサンプルアプリ」
タブ名: 「CMGanttChartSampleApp」
アイコン: 「コンパス」
説明: 「CM GanttChartのテストコンポーネントです」
続いて、[設定] > [管理者設定] > [モバイル管理] > [モバイルナビゲーション]をクリックします
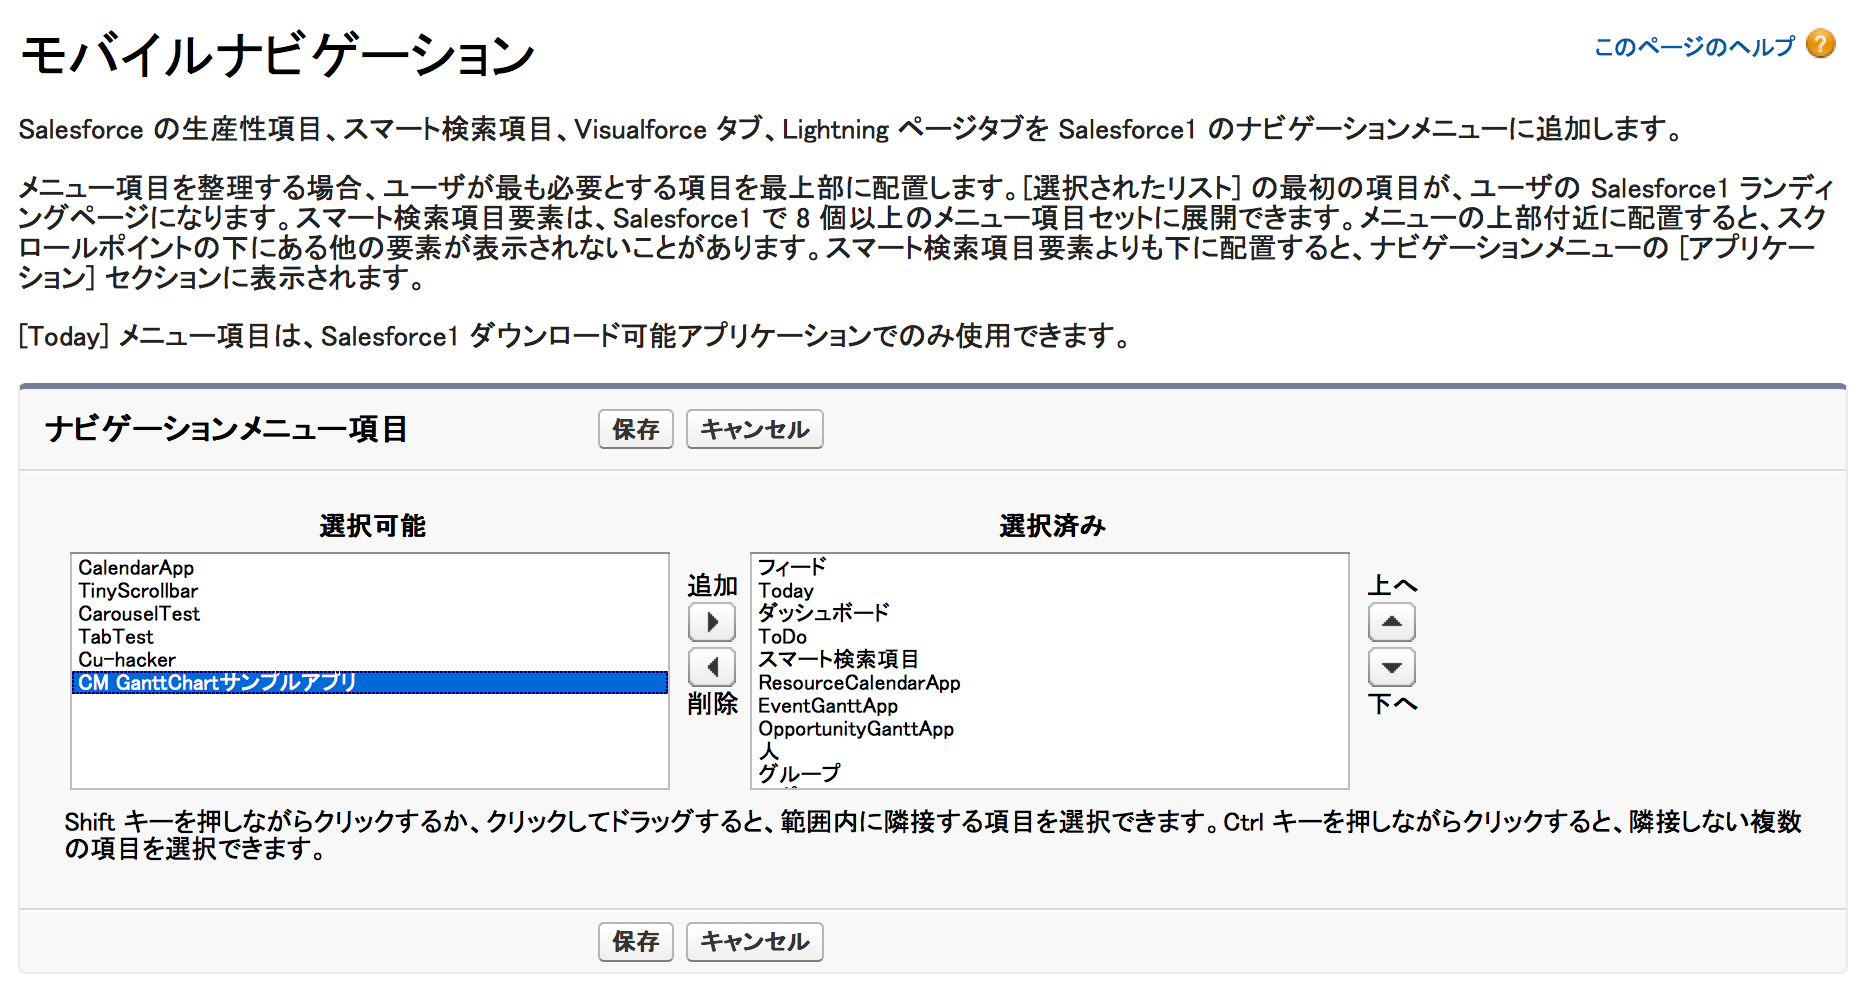
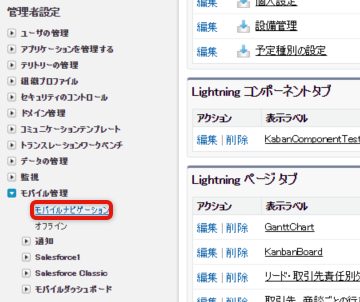 [モバイルナビゲーション] > [ナビゲーションメニュー項目]の[選択可能]に表示されている作成したLightningコンポーネントタブを選択し、[選択済み]に追加してください。
以上で設定完了です。
Salesforce1上で確認
Salesforce1モバイルアプリまたは「https://<インスタンス名>.lightning.force.com/one/one.app」からSalesforce1にアクセスします。ナビゲーションメニューに追加したアプリケーションが表示されるので、タップ(クリック)します。

CM GanttChartを使った商談ごとのタスクを表示するガントチャートを作成し、公開することができました。
カスタムオブジェクトとコンポーネントの設定を組み合わせることで、本格的なプロジェクトの工程管理用ガントチャートも作成可能ですので、試してみてください。